


The direction is always required to get connected with people and making people connected with you. Embed Google map helps you in every step to create visibility in a genuine and effective manner. This amazing visual tool gives you the freedom to communicate with a whole lot of information very quickly.

For a businessman, this tool is helpful to show customers where there are exactly located and even bloggers find this tool very useful to highlight the spots mentioned in the blogs in terms of helping the readers to check out.
But you can only do those things if you know how to add Google Maps to WordPress. To help you do that, I’m going to show you two different methods:
But to make use of this tool one should know how to add Google Maps in WordPress. Here, we will discuss two important methods to add Google Maps in WordPress with and without a plugin.
How to Embed Google Maps In WordPress without a Plug-in
This method is suitable if someone just wants to embed a single location marker or set of directions. Or else, you can also use Google My Maps to create your own custom map with a lot more functionality.

Step 1: Create the Map That You Want To Embed
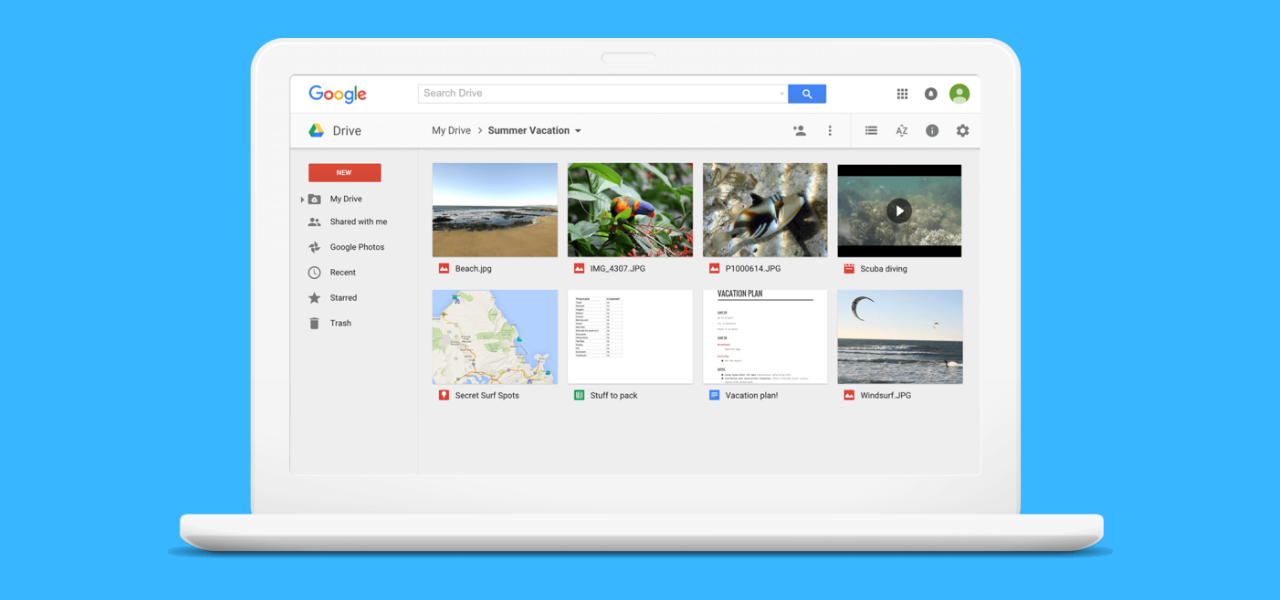
If you just want to embed a standard Google Maps map that you see at the regular Google Maps website, all you need to do is:
- Open the map (or directions) you want to embed using the regular Google Maps interface.
- Click on share
- Select Embed Map
- Copy the embed code
Or else, you can try in a different way
Use Google My Maps to Create Your Map
- Multiple location markers
- Custom notes that you add
- Your own colour
To use Google My Maps, click on the Create A New Map button after signing in.
Then, build your map with the interface
Click Share after you build up your map and then, next to Private - Only you can access, click the Change button
Then, choose On - Public on the web and click Save.
Once you’ve made your map public, click on the three dots button and choose Embed on my site.
Then, copy the embed code because you’ll need it in the next step.
Step 2: Add Embed Code to Your WordPress Site
Finally, your embed code, either from the regular Google Maps interface or Google My Maps, edit the post or page where you want to embed your map.
Then, choose the Text tab in the WordPress editor and paste in the embed code.
When you publish or update your post, you should see your Google Maps embed right there.
How to Embed Google Maps In WordPress with a Plug-in
The above method is good for basic Google Maps embeds but to do things more creatively you need to install plug-in.
Make sure that to get started with this tutorial, make sure that you have WP Google Maps installed and activated.
Step 1: Create and Enter Google Maps API Key
To get the API key you need to follow the following steps:
.png)
- Go to the Google Cloud Platform Console. If you don’t have an account yet, create one, it’s free.
- Select or create a project.
- Set up your billing account. Even though they will require you to put a credit card on file, you should never be charged, unless you do go over the high usage limits.
- Pick the Google Maps Embed API.
- Click �Enable.�
- Click on �APIs� and then under �Credentials�, you will see your API key.
- If you’re simply embedding your Google Maps API key it will show in plain text in your source code. Therefore you should restrict this; otherwise, people could use your API key on their WordPress site or projects and rack up your usage.
Basically, this free API Key
allows your chosen plugin to connect to the Google Maps service to help you
create a map.
Once you get your API key, plug it into the box and click Save.
Step 2: Edit My first map
Step 3: Configure Basic Settings
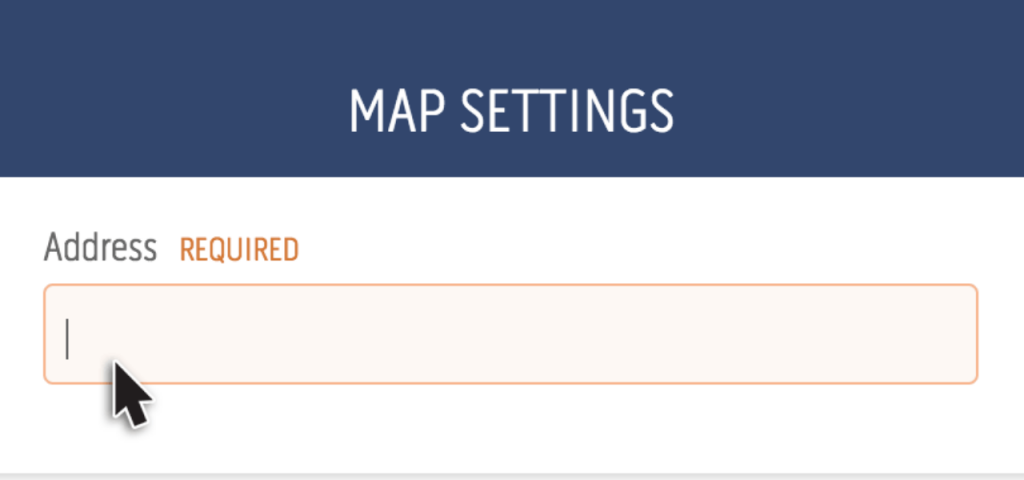
- General Settings - height, width, alignment, and map type
- Themes - lets you choose from 9 included map themes. These basically change the styling of your map.
- Directions - unfortunately, you can only use directions in the Pro version.
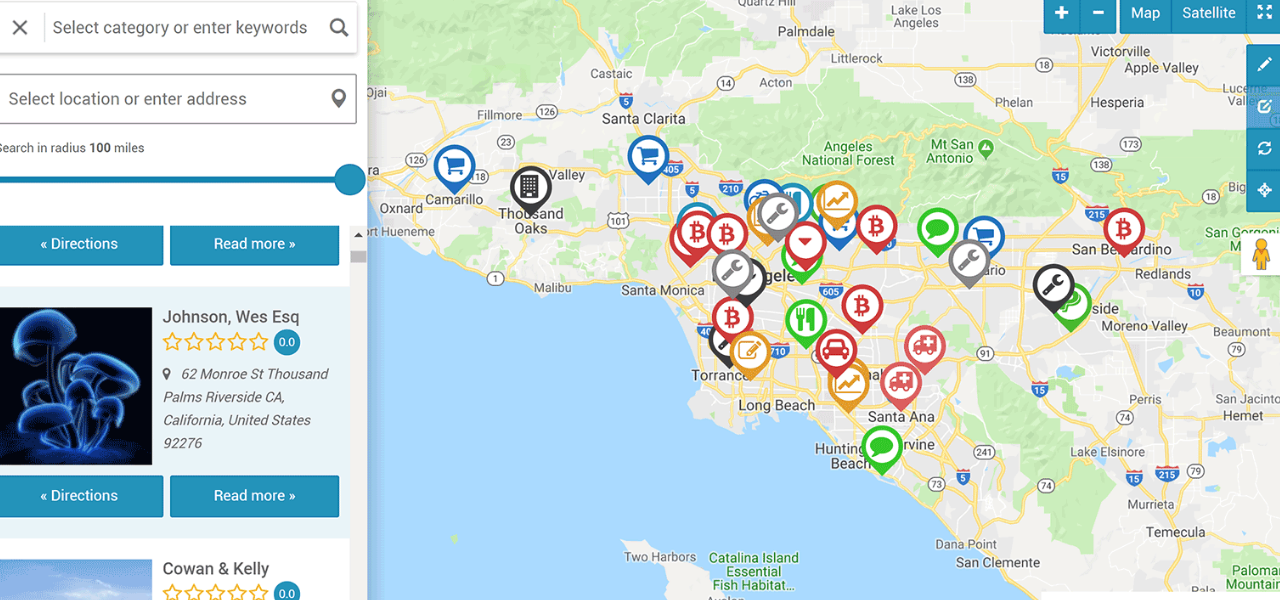
- Store Locator - this cool feature lets your visitors search for the store that’s nearest to them, which is helpful if you’re running a business with physical locations.
- Advanced Settings - lets you enable traffic data and other features, though many are only available in the Pro version.
Once you’ve configured those settings, you’re ready to actually work on your map itself.
Step 4: Add Markers and Other Map Elements
Below the basic settings, you can start adding elements to your map using the five different tabs.
To add a marker, you can either:
- Search for a location in the box.
- Right-click anywhere on the map to drop a marker at that specific location
Once you save your marker, it will show up on the map and you can add another one.
You can also edit markers by viewing the full list of markers and edit existing markers in the Your Markers section.
Once you finish adding map elements, make sure to click Save Map.

Step 5: Embed Your Map Using the Shortcode
Once you saved your map, the final begins.
- Click on Maps in your WordPress dashboard sidebar.
- Copy the shortcode for your map.
- Add the shortcode wherever you want your map to appear & your embed google map is ready.
You can change the WordPress themes as given out there and install some more plug-ins from the internet to design your map in a customized way. Useful guidelines and steps involved in using Google Maps will give you a better space in communication and making things easier.
